
Have an existing ASP.NET MVC web application that you'd like to add some mapping capabilities to? Don't want to rewrite the entire application in Blazor? No problem! ASP.NET Core MVC supports integrating Razor components, which means you can add GeoBlazor to your existing MVC application with minimal effort.
This blog post will walk you through the process of adding GeoBlazor to an existing ASP.NET MVC application. We'll cover the necessary setup steps, creating a map component, and adding it to your MVC views. By the end, you'll have a fully functional map in your MVC application!
You can find the complete sample code for this tutorial at https://github.com/dymaptic/GeoBlazorMVCWebApp/.
📚 Microsoft Documentation: For more details on integrating Razor components with MVC and Razor Pages, see Prerender and integrate ASP.NET Core Razor components.
Setting Up GeoBlazor in Your MVC Project
First, you'll need to add the GeoBlazor NuGet packages to your project. Open the NuGet Package Manager and install:
dymaptic.GeoBlazor.Core- The core GeoBlazor library- Optional:
dymaptic.GeoBlazor.Pro- For advanced features (requires a license)
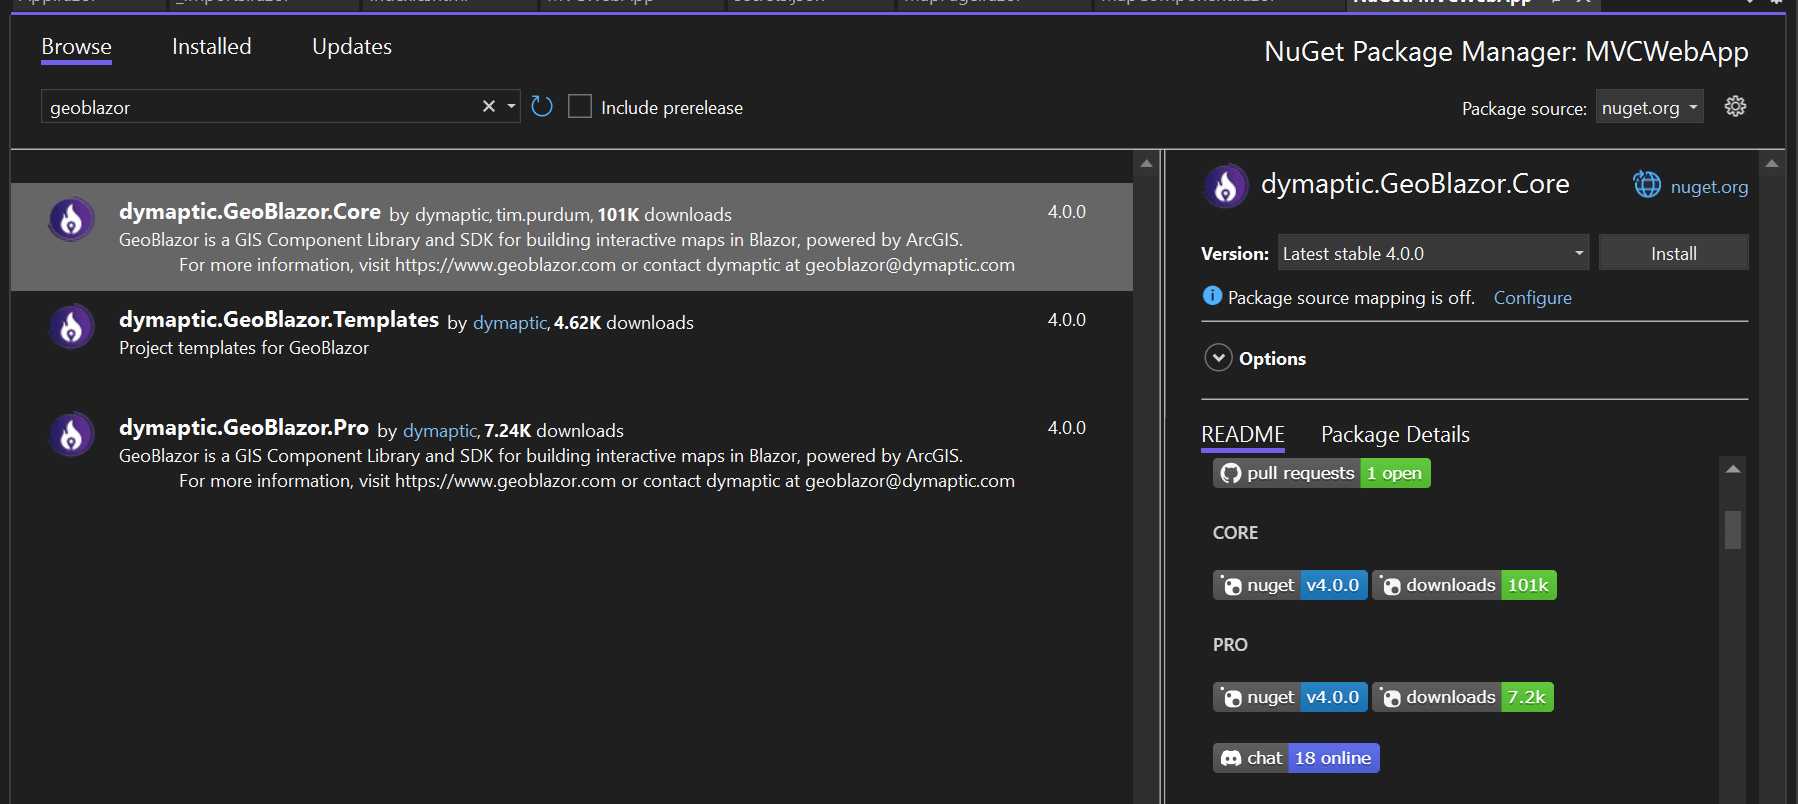
Installing GeoBlazor.Core via NuGet Package Manager
Configuration Steps
1. Create _Imports.razor
Create a Components folder in your project root if it doesn't exist, and add an _Imports.razor file with the following content:
@using Microsoft.AspNetCore.Components.Web
@using dymaptic.GeoBlazor.Core.Components
@using dymaptic.GeoBlazor.Core.Components.Geometries
@using dymaptic.GeoBlazor.Core.Components.Layers
@using dymaptic.GeoBlazor.Core.Components.Popups
@using dymaptic.GeoBlazor.Core.Components.Symbols
@using dymaptic.GeoBlazor.Core.Components.Views
@using dymaptic.GeoBlazor.Core.Components.Widgets
@using dymaptic.GeoBlazor.Core.Objects
@using dymaptic.GeoBlazor.Core.Events
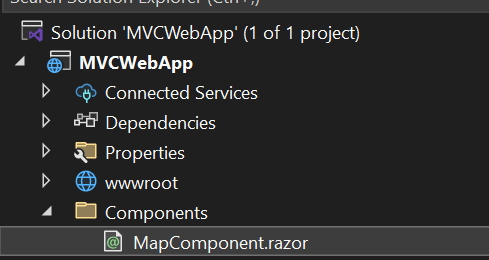
Project structure with Components folder
2. Update _Layout.cshtml
In your Views/Shared/_Layout.cshtml file, add the following inside the <head> tag:
<component type="typeof(HeadContent)" render-mode="ServerPrerendered" />
<component type="typeof(HeadContent)" render-mode="ServerPrerendered" />
And before the closing </body> tag, add:
<component type="typeof(HeadOutlet)" render-mode="ServerPrerendered" />
<component type="typeof(HeadOutlet)" render-mode="ServerPrerendered" />
3. Configure Program.cs
Update your Program.cs to register GeoBlazor services:
var builder = WebApplication.CreateBuilder(args);

// Add services to the container.
builder.Services.AddControllersWithViews();

// Add Razor Components
builder.Services.AddRazorComponents();

// Add GeoBlazor
builder.Services.AddGeoBlazor();

var app = builder.Build();

// Configure the HTTP request pipeline.
if (!app.Environment.IsDevelopment())
{
    app.UseExceptionHandler("/Home/Error");
    app.UseHsts();
}

app.UseHttpsRedirection();
app.UseStaticFiles();
app.UseRouting();
app.UseAuthorization();

// Map Razor Components (required for interactive components)
app.MapRazorComponents<App>();

app.MapControllerRoute(
    name: "default",
    pattern: "{controller=Home}/{action=Index}/{id?}");

app.Run();
Creating Your Map Component
Now let's create a Razor component that displays a map. Create a new file Components/MapComponent.razor:
<div style="height: 600px; width: 100%;">
    <MapView Longitude="-98" Latitude="39" Zoom="4">
        <Map>
            <Basemap>
                <BasemapStyle Name="BasemapStyleName.ArcgisTopographic" />
            </Basemap>
            <FeatureLayer Url="https://services.arcgis.com/P3ePLMYs2RVChkJx/arcgis/rest/services/USA_Counties_Generalized_Boundaries/FeatureServer/0">
                <PopupTemplate Title="{NAME} County">
                    <StringFieldContent FieldName="NAME" Label="County Name" />
                    <StringFieldContent FieldName="STATE_NAME" Label="State" />
                </PopupTemplate>
            </FeatureLayer>
        </Map>
    </MapView>
</div>
This creates a simple map centered on the United States with a counties layer and popup templates.
Adding the Component to Your MVC View
To use the component in your MVC view (like Views/Home/Index.cshtml), add the following:
@{
ViewData["Title"] = "Home Page";
}
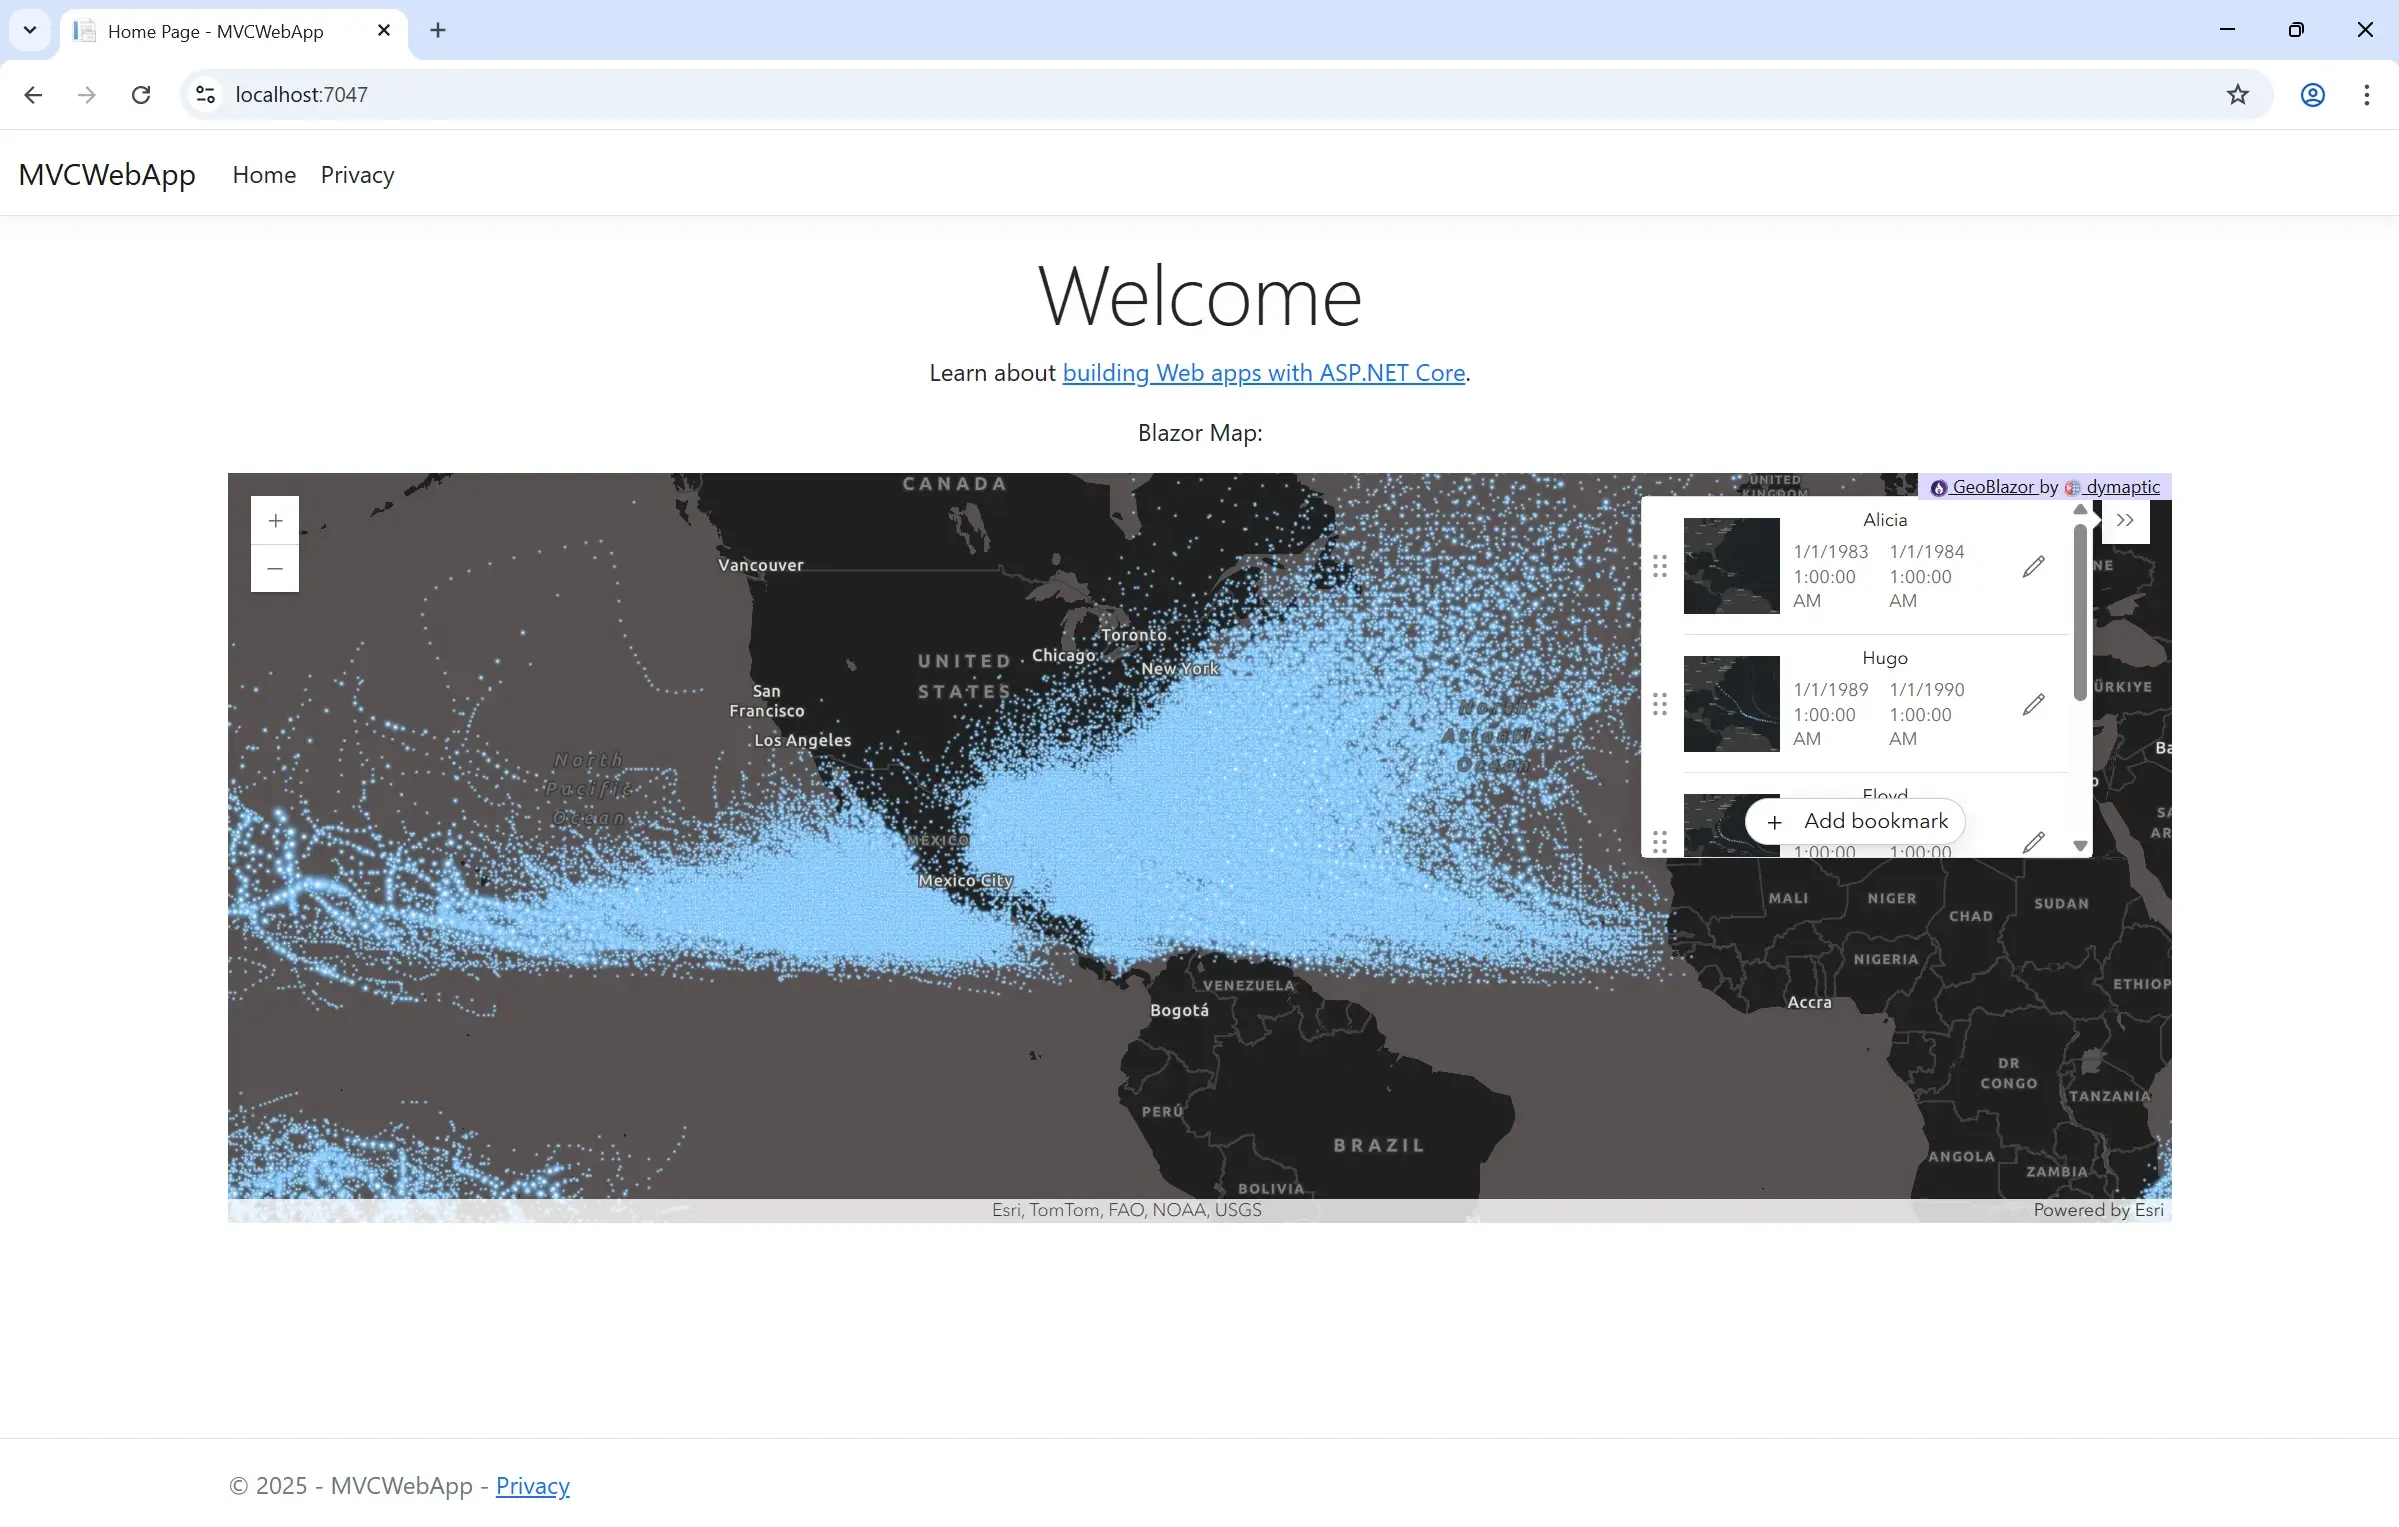
<div class="text-center">
<h1 class="display-4">Welcome</h1>
<p>Here's a map powered by GeoBlazor!</p>
</div>
<component type="typeof(MapComponent)" render-mode="ServerPrerendered" />
@{
    ViewData["Title"] = "Home Page";
}

<div class="text-center">
    <h1 class="display-4">Welcome</h1>
    <p>Here's a map powered by GeoBlazor!</p>
</div>

<component type="typeof(MapComponent)" render-mode="ServerPrerendered" />
Your MVC home page now displays a fully functional map!
💡 Render Mode Options: You can use either Server or ServerPrerendered for the render-mode. ServerPrerendered will render the component on the server first for faster initial load, then establish a SignalR connection for interactivity.
Creating Routable Razor Pages
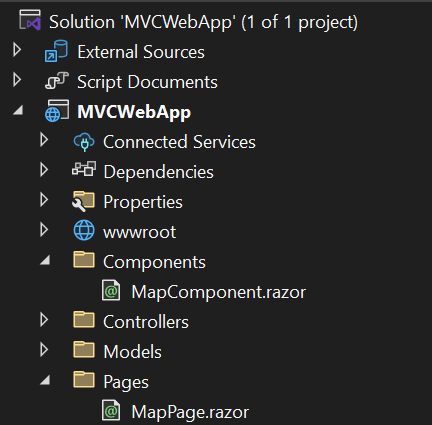
You can also create routable Razor pages that work alongside your MVC routes. Create a Pages folder in your project and add MapPage.razor:
@page "/map"

<PageTitle>Interactive Map</PageTitle>

<div class="text-center">
    <h1 class="display-4">Interactive Map Page</h1>
    <p>This is a routable Razor page with a GeoBlazor map!</p>
</div>

<div style="height: 600px; width: 100%; margin-top: 2rem;">
    <MapView Longitude="-98" Latitude="39" Zoom="4">
        <Map>
            <Basemap>
                <BasemapStyle Name="BasemapStyleName.ArcgisImagery" />
            </Basemap>
            <FeatureLayer Url="https://services.arcgis.com/P3ePLMYs2RVChkJx/arcgis/rest/services/USA_States_Generalized_Boundaries/FeatureServer/0">
                <PopupTemplate Title="{STATE_NAME}">
                    <StringFieldContent FieldName="STATE_NAME" Label="State" />
                    <StringFieldContent FieldName="STATE_ABBR" Label="Abbreviation" />
                </PopupTemplate>
            </FeatureLayer>
        </Map>
    </MapView>
</div>
Project structure with routable Razor page
Now you can navigate to /map in your application and see the routable page!
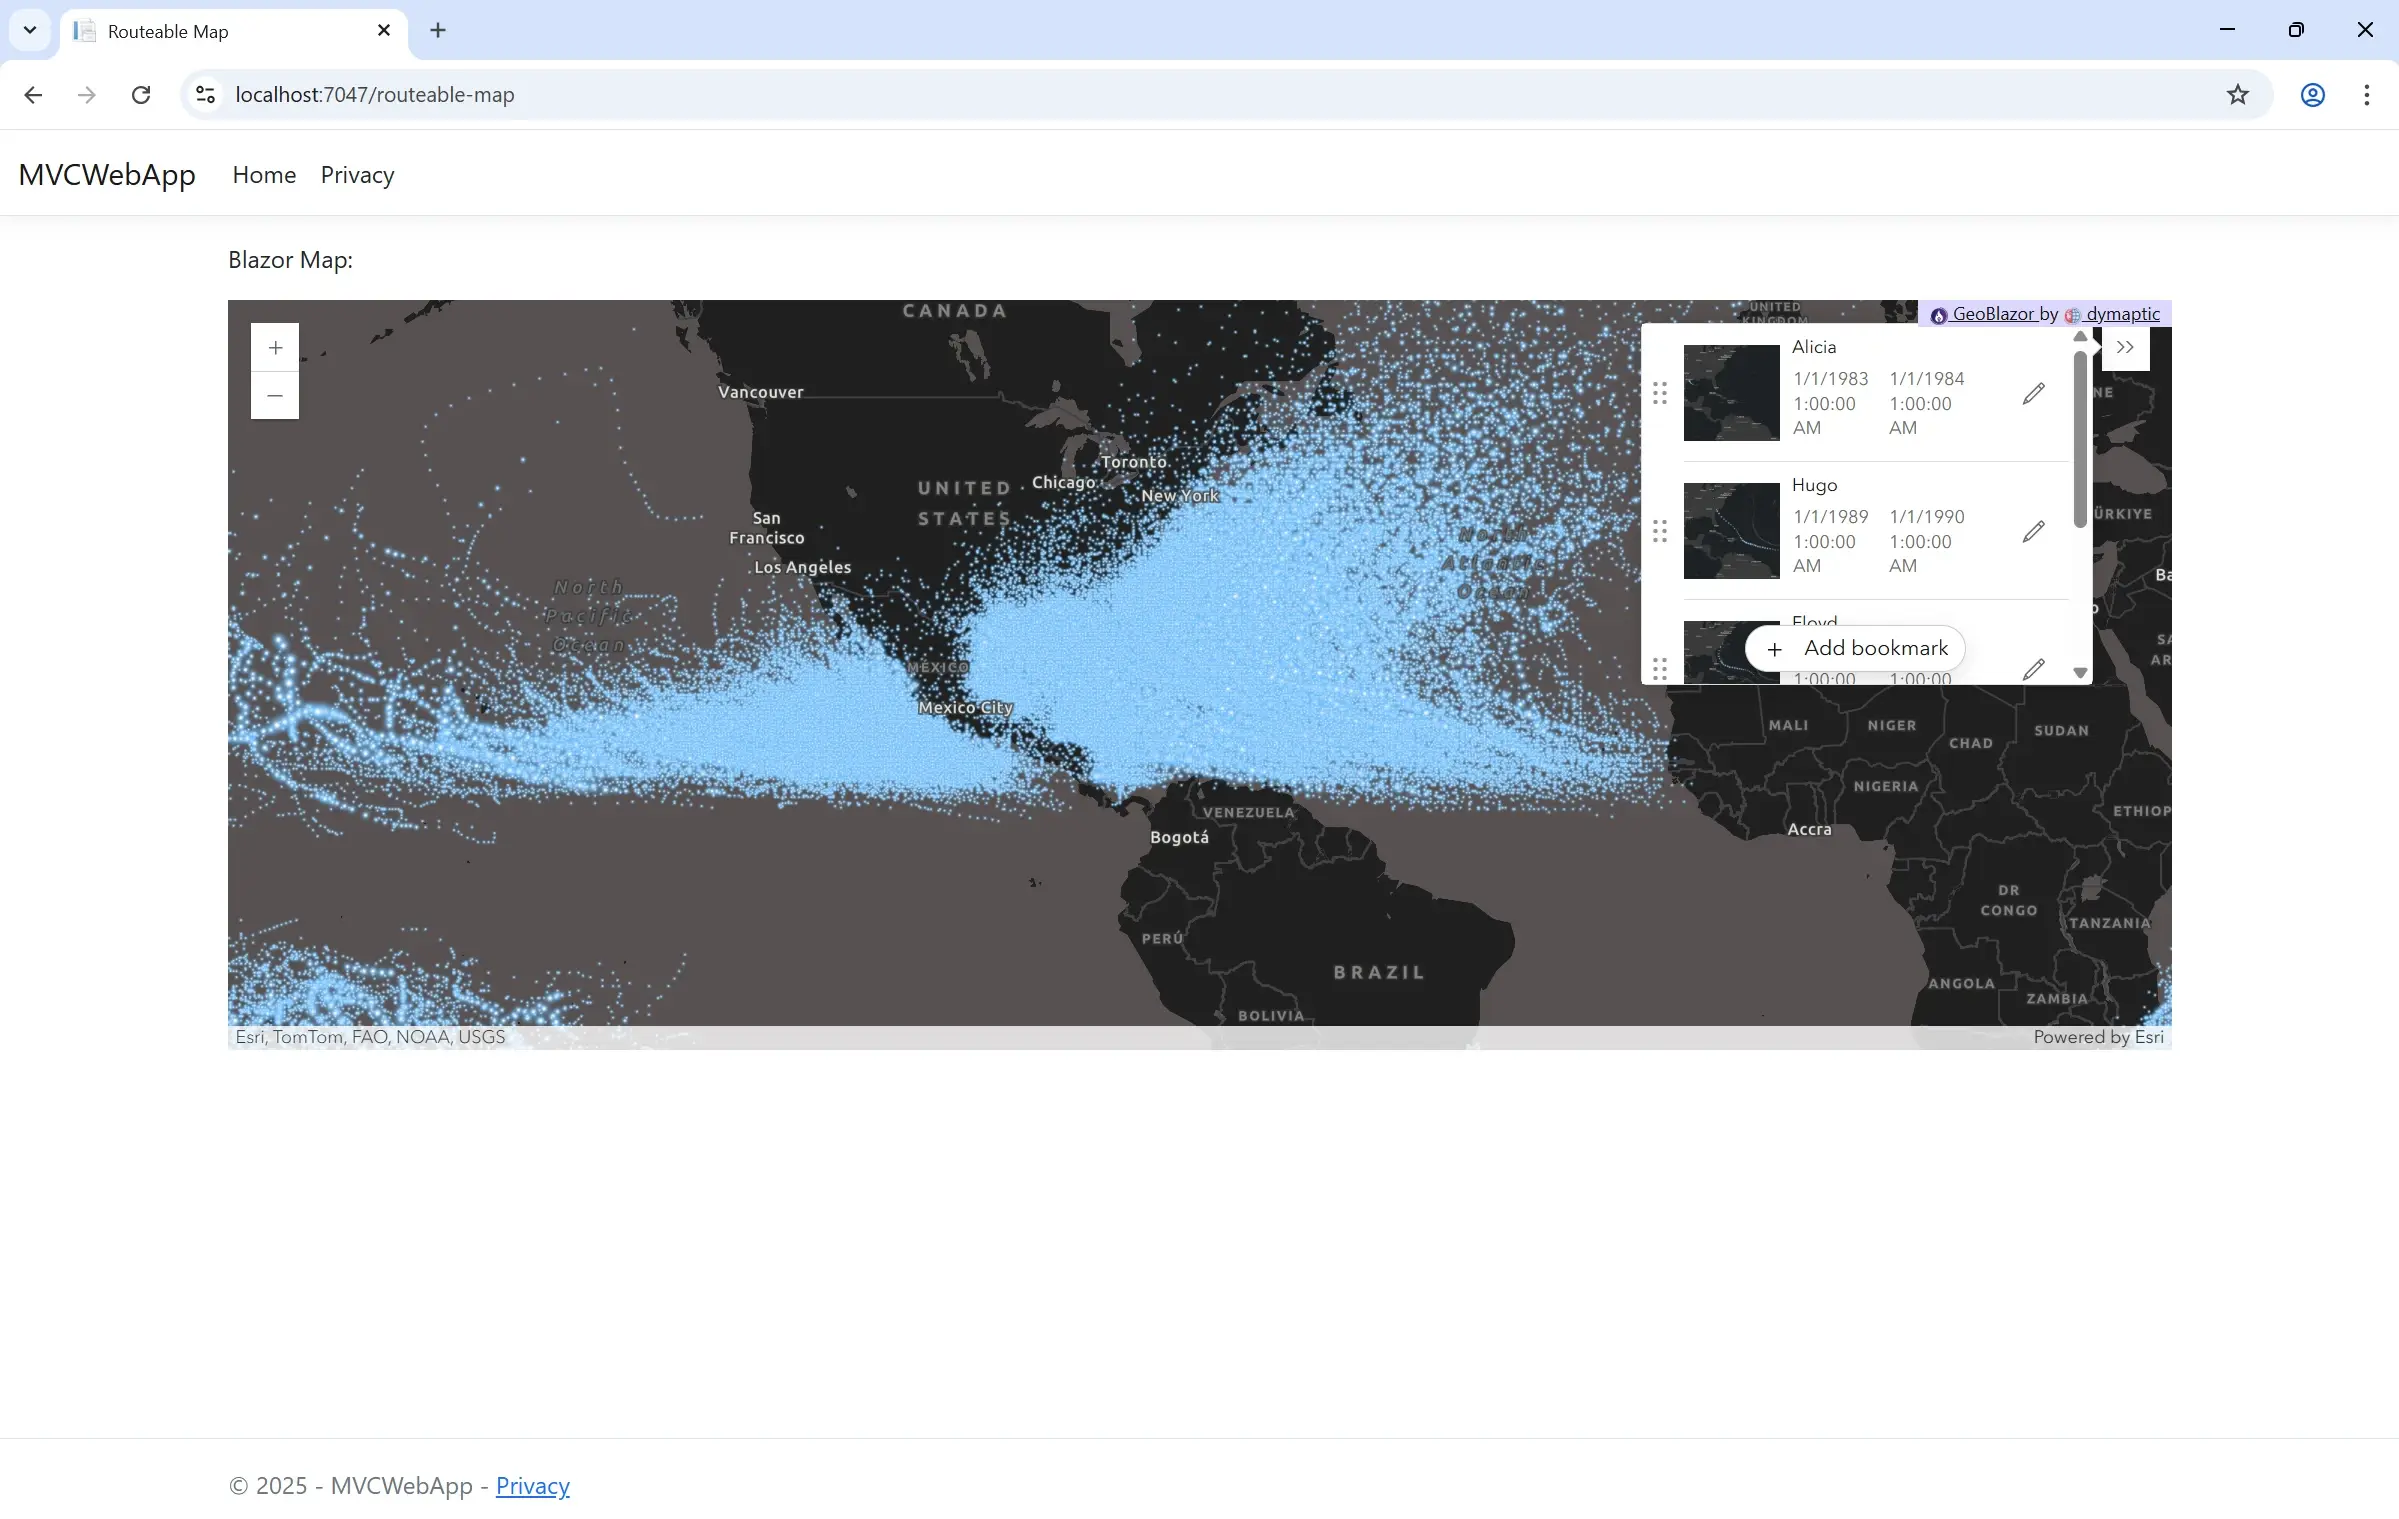
Routable Razor page displaying at /map route
Next Steps
You've successfully integrated GeoBlazor into your existing ASP.NET MVC application! From here, you can:
- Explore more GeoBlazor samples to see what else you can build
- Add authentication and authorization to your maps
- Connect to your own data sources
- Create custom widgets and interactions
- Upgrade to GeoBlazor Pro for advanced features
Remember, the complete sample code is available at https://github.com/dymaptic/GeoBlazorMVCWebApp/.
If you have questions or need help, join our community on Discord or email us at geoblazor@dymaptic.com.
Learn More About MVC Integration:
- Complete Sample Project - Full working example on GitHub
- Microsoft Documentation - Prerendering and integrating Razor components
- GeoBlazor Documentation - Learn about maps, layers, and widgets
- View Sample Applications - Explore what's possible with GeoBlazor
- GeoBlazor Pro - Advanced features for enterprise applications
- Join Our Discord - Get help integrating GeoBlazor with your MVC app